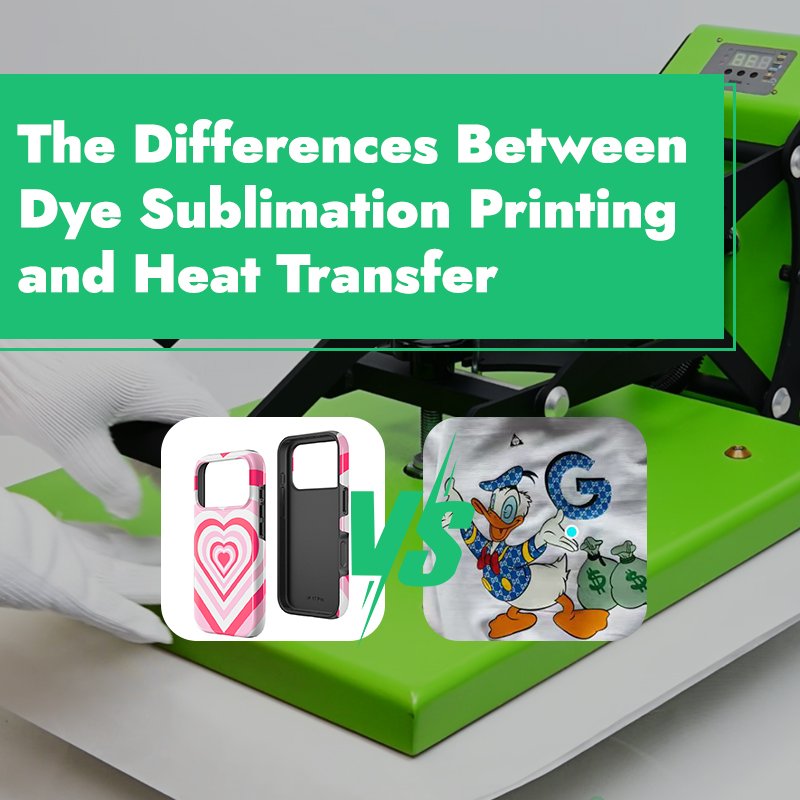






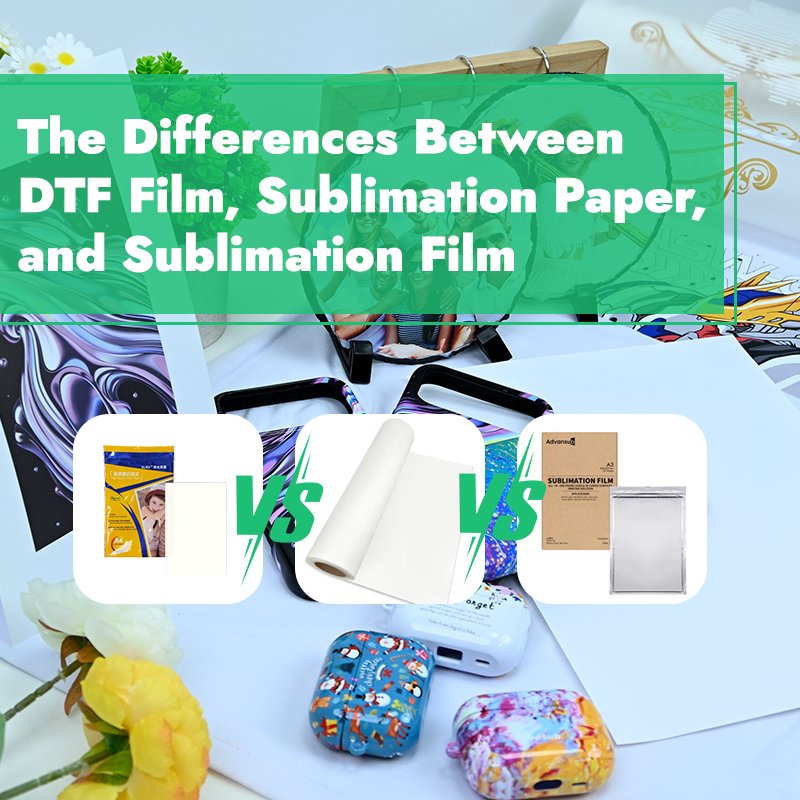
In the field of personalized customization and digital printing, selecting the right transfer materials is crucial. Sublimation film, sublimation paper, and DTF transfer films are the core consumables for the three mainstream processes, each catering to different application scenarios and technical requirements. Understanding their key differences is the critical first step in choosing the most suitable and efficient production solution.
What is Sublimation film?
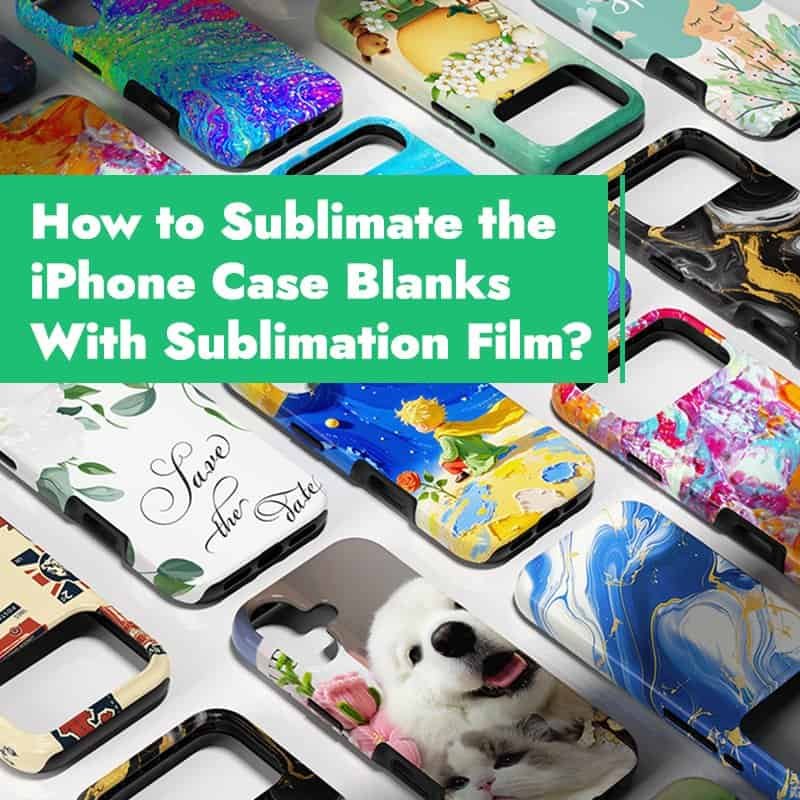
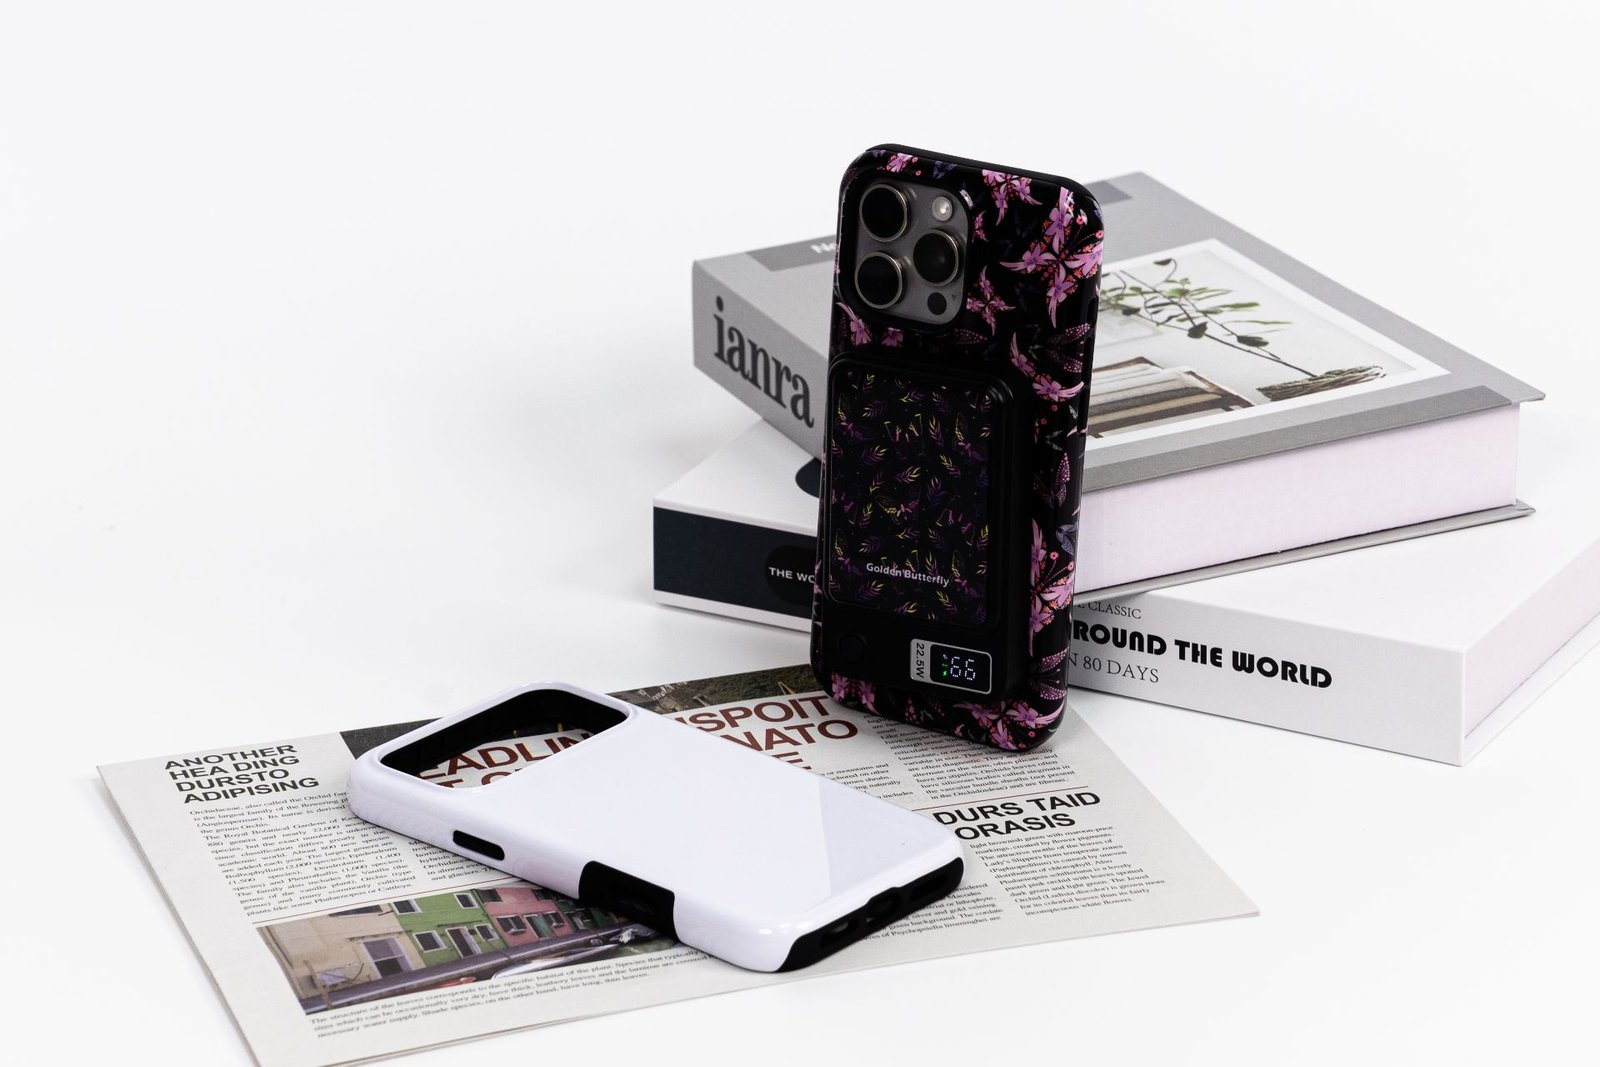
3D sublimation film refers to a type of film that can be used for vacuum thermoforming and dye-sublimation transfer. The base material is typically PET (polyethylene terephthalate) film, coated with a special ink-receptive layer on the surface. This coating not only securely holds dye-sublimation ink but also rapidly releases dye molecules when heated. Due to its excellent stretchability and flexibility, it can closely conform to the surfaces of objects, making it suitable for 3D object transfers and high-precision applications. Examples include consumer electronics (phone cases, earbud cases, laptop cases, keycaps, vape accessories), sports and lifestyle items (shin guards, kitchenware), and automotive parts (interior trim, license plates).
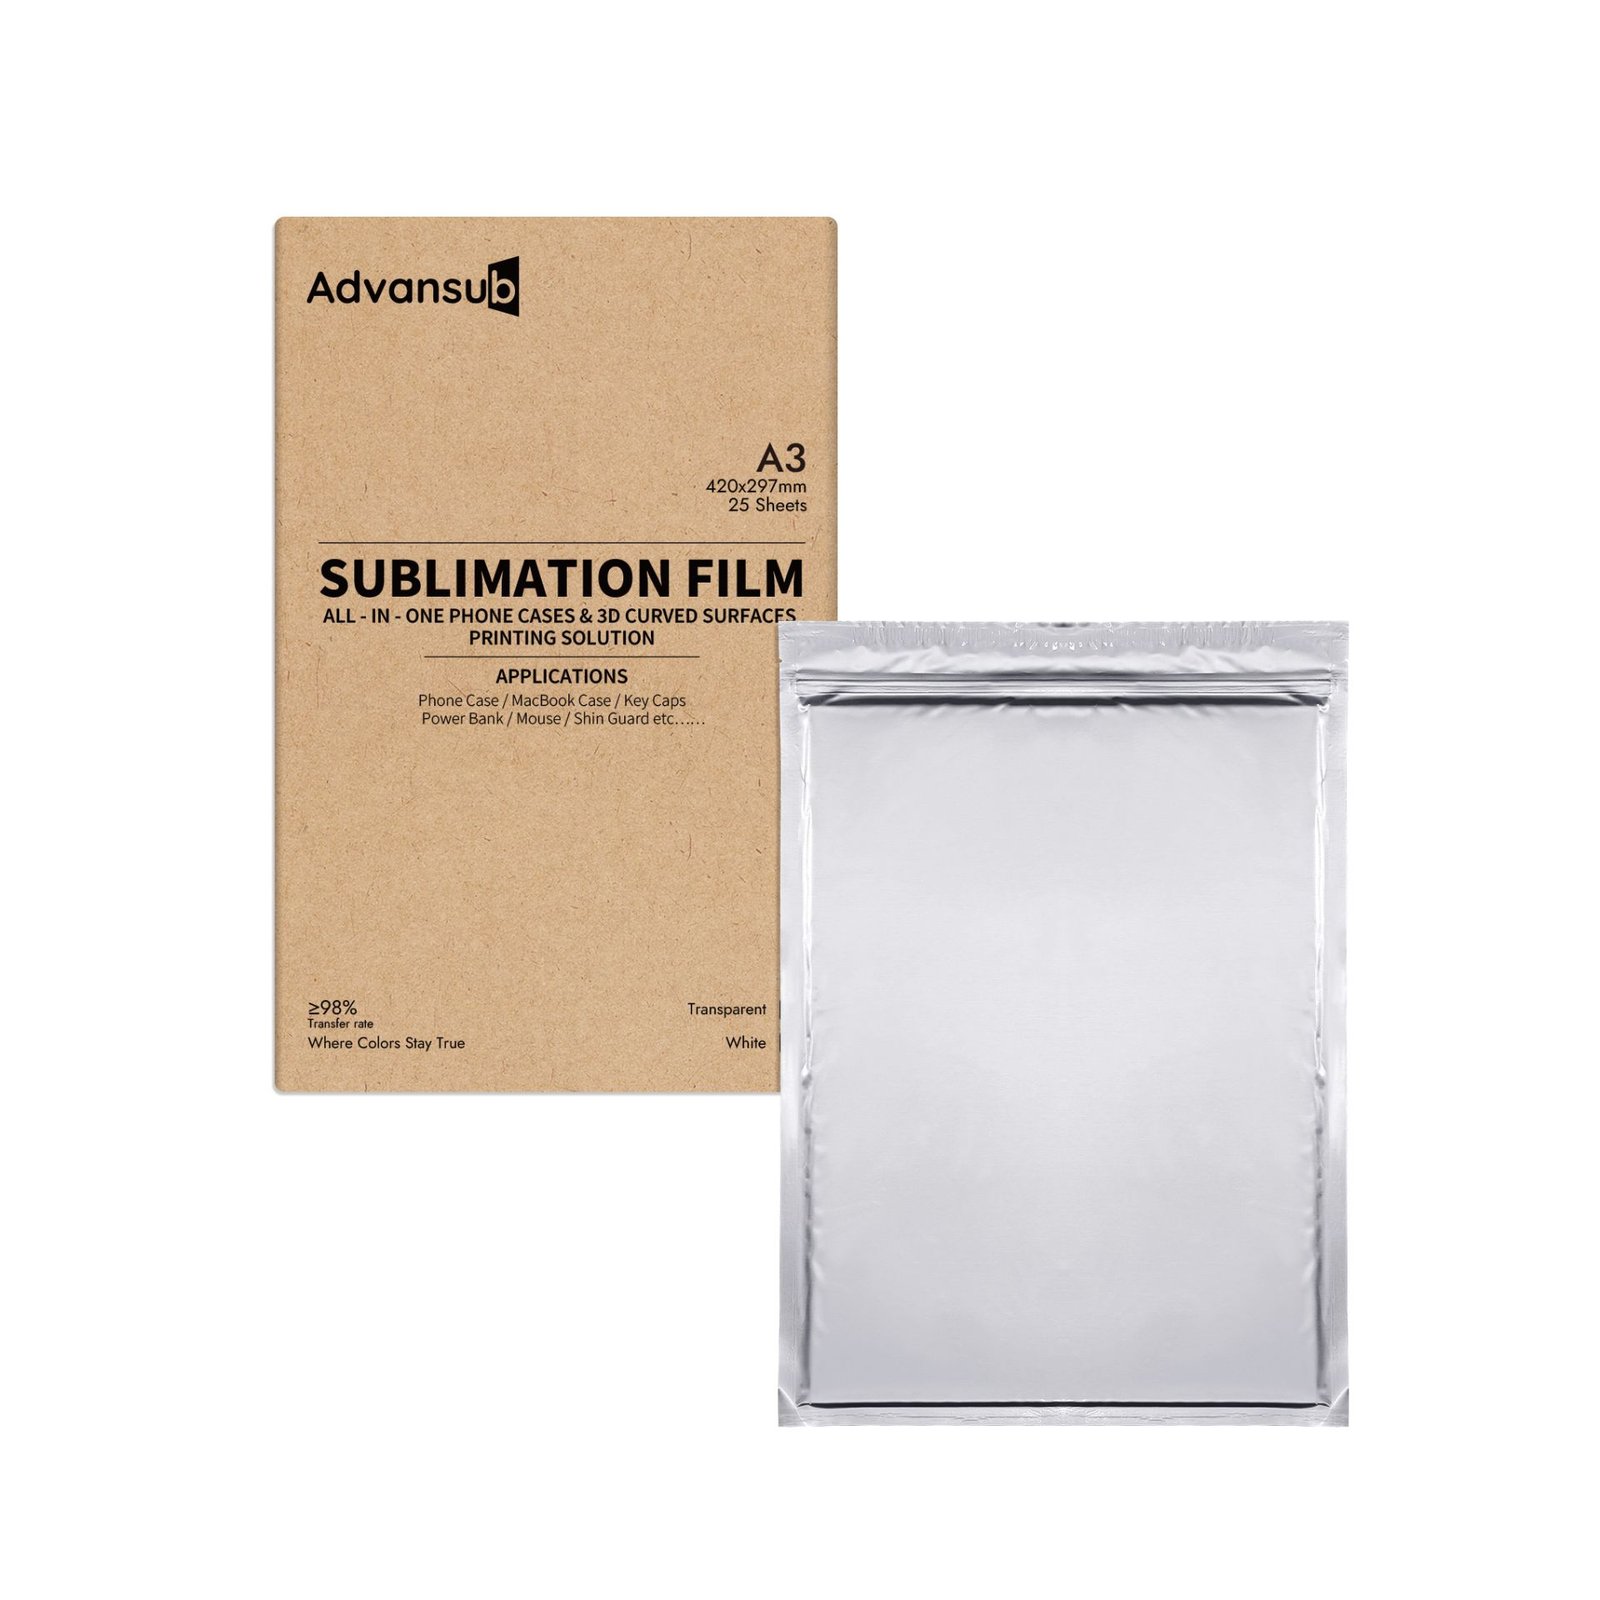
Performance Characteristics
High Color Reproduction Accuracy: The special coating effectively locks in ink and instantaneously releases it under high temperature and pressure, ensuring up to 95% color transfer. This enables full penetration into the substrate surface, resulting in vibrant colors, exceptional reproduction fidelity, and long-lasting color retention.
Outstanding Transfer Durability: Patterns bond tightly with the substrate, offering excellent resistance to washing and abrasion. This ensures the design remains intact without fading or peeling over extended use.
Full-Wrap Printing Capability: Thanks to its superior flexibility and shrinkability, sublimation film can be used for three-dimensional object printing. It conforms perfectly to the contours of items, achieving seamless 360° coverage without blind spots.
How It Works
- Design the Image
Create or select your design using software (e.g., Photoshop or other design tools). Ensure the image is mirrored before printing to guarantee correct orientation after transfer.
- Print the Design
Print the mirrored image onto the sublimation film using dye-sublimation ink (note: print on the frosted/matte side).
- Transfer Preparation
Place the product to be transferred onto the fixture after preheating the matched mold for 20 minutes. Position the printed sublimation film over the product (note: printed side facing the product surface) and quickly close the machine lid.
- Heating Process
Press the machine start button. Standard settings: 130°C for 4–6 minutes. Once the countdown ends, open the machine.
- Finalize the Transfer
Peel off the sublimation film and remove the product from the fixture. The transfer process is now complete.
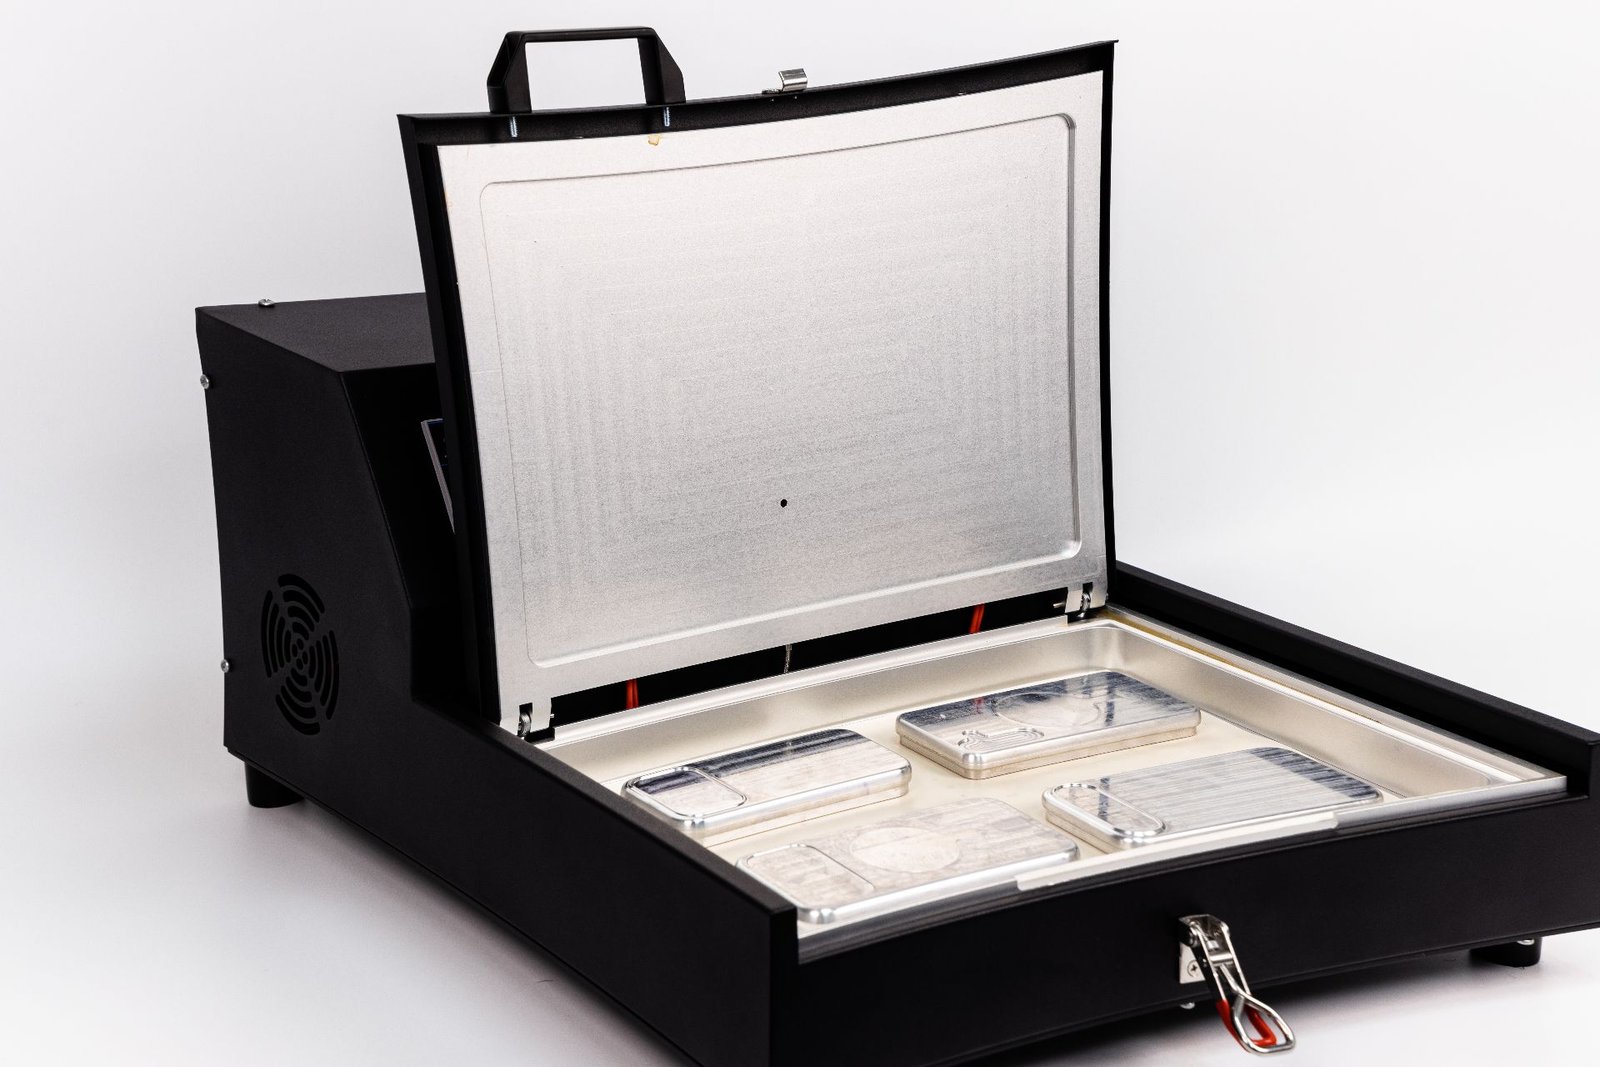
Note:Sublimation film requires specialized dye-sublimation ink and 3D sublimation vacuum machine. The vacuum system creates negative pressure to achieve seamless, edge-to-edge wrap-around printing without wrinkles or air bubbles.
What is Dye-Sublimation Paper?
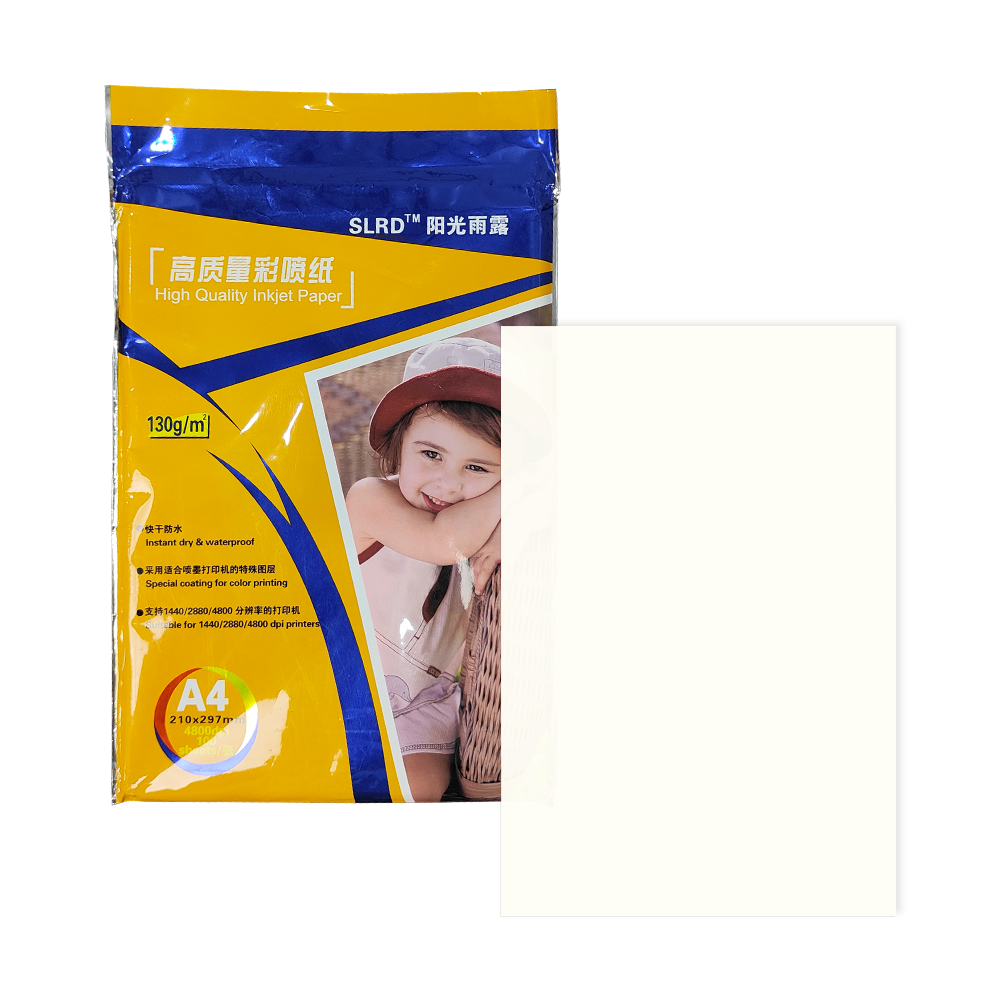
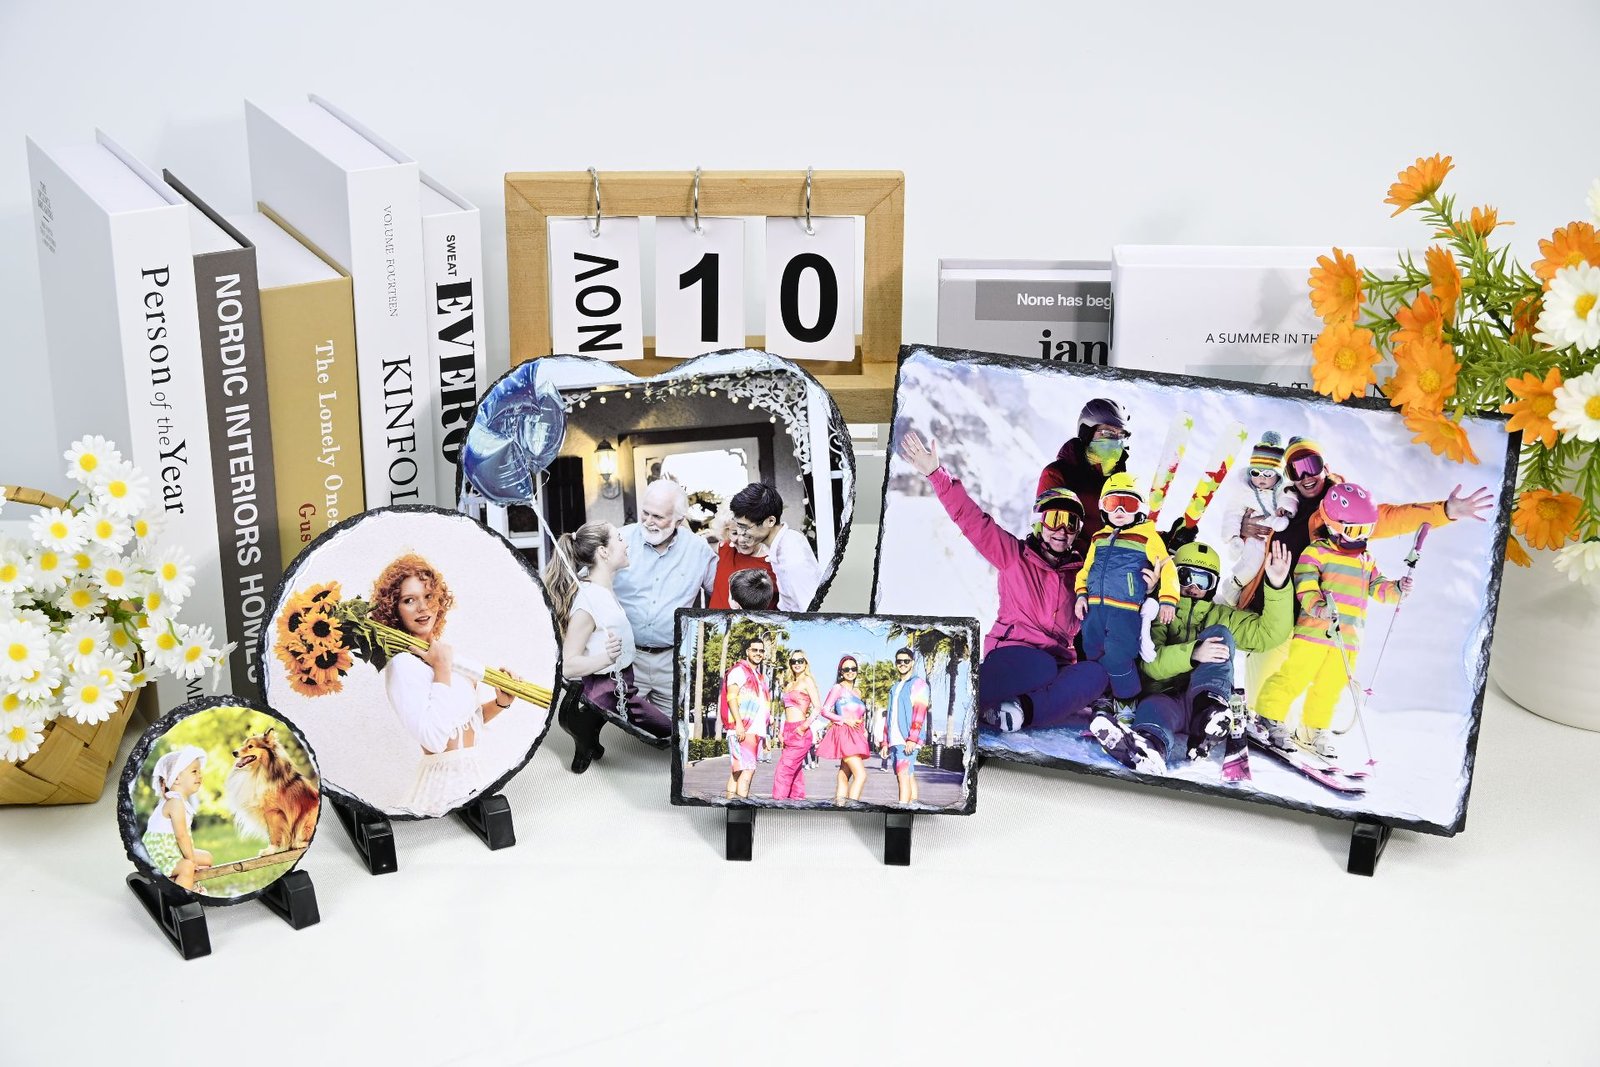
Dye-sublimation paper is a specialty paper used in the dye-sublimation transfer process. Its primary function is to carry dye-sublimation ink, providing a temporary support medium for the subsequent pattern transfer. The transfer principle is based on the phase change characteristics of disperse dyes in sublimation inks, which transform from solid to gaseous state under high temperature, penetrating the substrate’s surface to form a permanent image. It is mainly used for flat-surface item transfers, such as textiles (clothing, tote bags), wooden products (coasters, cutting boards, pizza trays, wooden candle holders), decorative items (slate art, metal pendants), leather goods, and glass products.
Performance Characteristics
Excellent Ink Absorption:Enables ink to spread rapidly across the paper surface without penetrating through to the backside or pooling on the surface, ensuring sharp, vibrant patterns and colors.
Fast Drying Speed:Meets the needs of downstream enterprises for continuous production, preventing issues such as smudging or blocking.
Clean Surface:Minimizes flaws like dust or pinholes that could compromise the final transferred image quality.
How It Works
- Design the Image
Create or select your design using software (e.g., Photoshop or other design tools). Mirror the image before printing to ensure correct orientation after transfer.
- Print the Design
Print the mirrored image onto dye-sublimation paper using dye-sublimation ink.
- Transfer the Image
Use heat press machine to apply the printed paper to the substrate, applying high-temperature pressure at 180°C–200°C.
- Finalize the Process
After the transfer cycle is complete, remove the product.
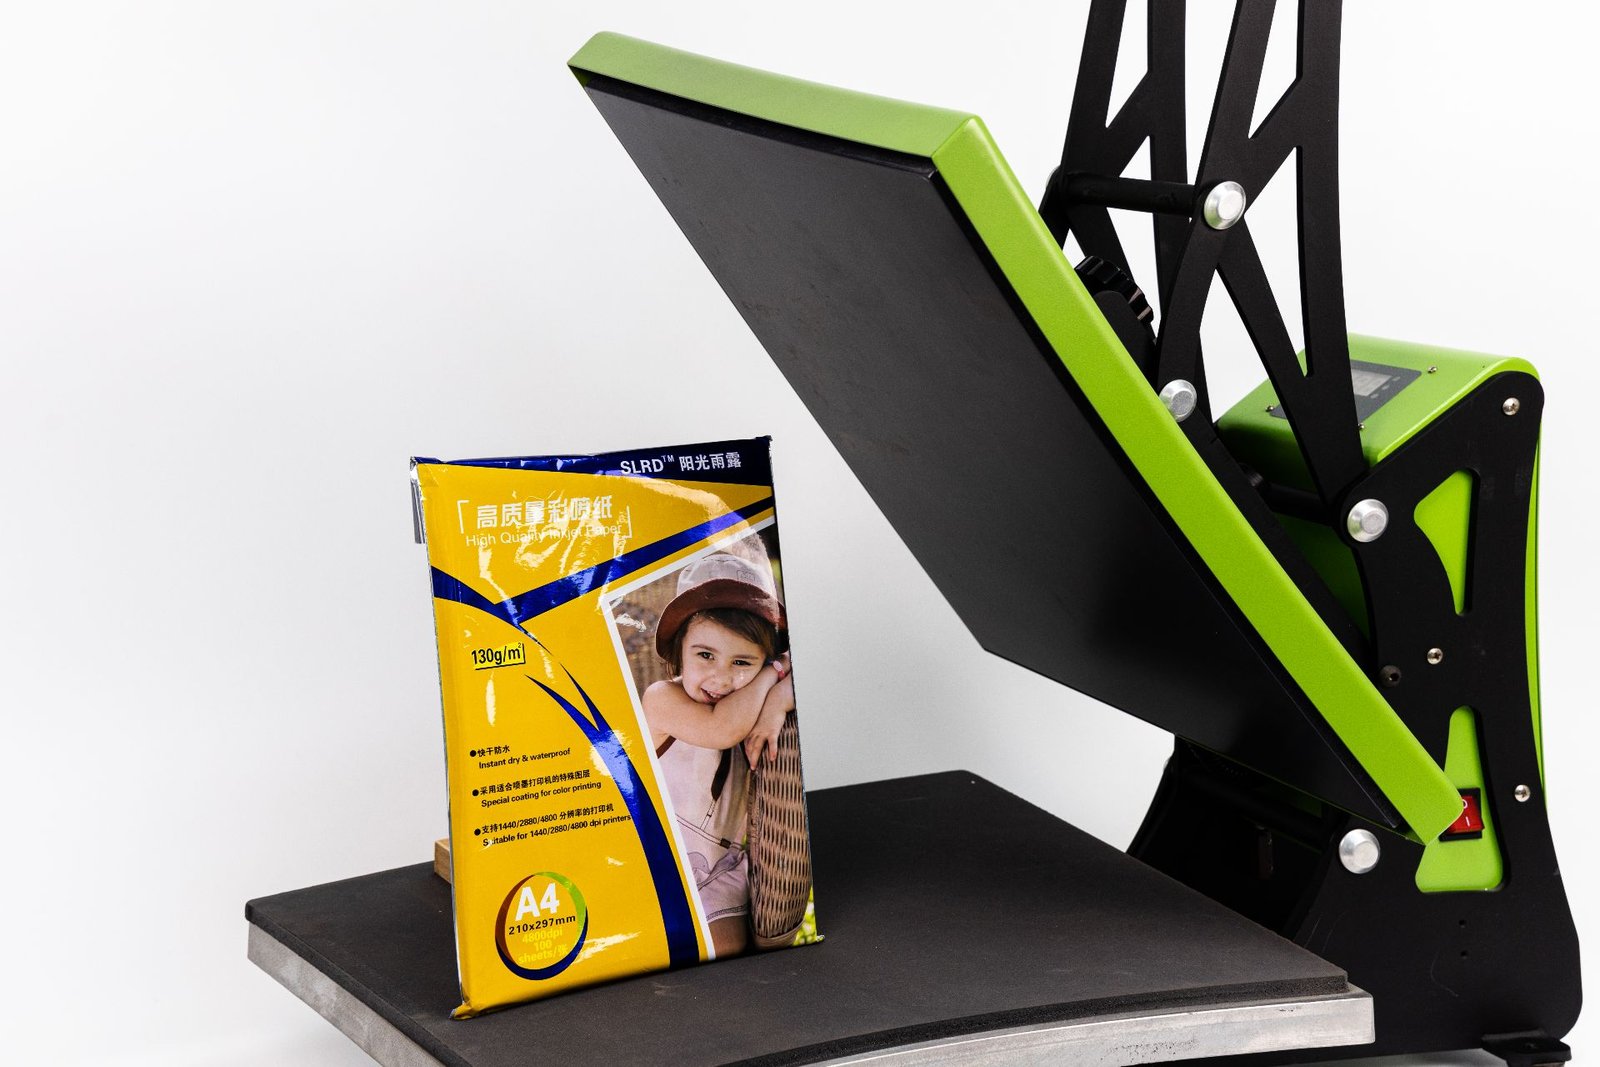
Note:Dye-sublimation paper requires the use of a heat press machine. As a coated specialty paper, the material itself is relatively brittle. If subjected to uneven pressure during the heating and pressing process, it is highly prone to wrinkling or tearing, ultimately leading to transfer failure. The heating plate and pressure platen of heat press machine feature high parallelism, ensuring uniform pressure distribution and thereby effectively safeguarding the integrity of the dye-sublimation paper during the transfer process.
What is DTF Transfer Film?
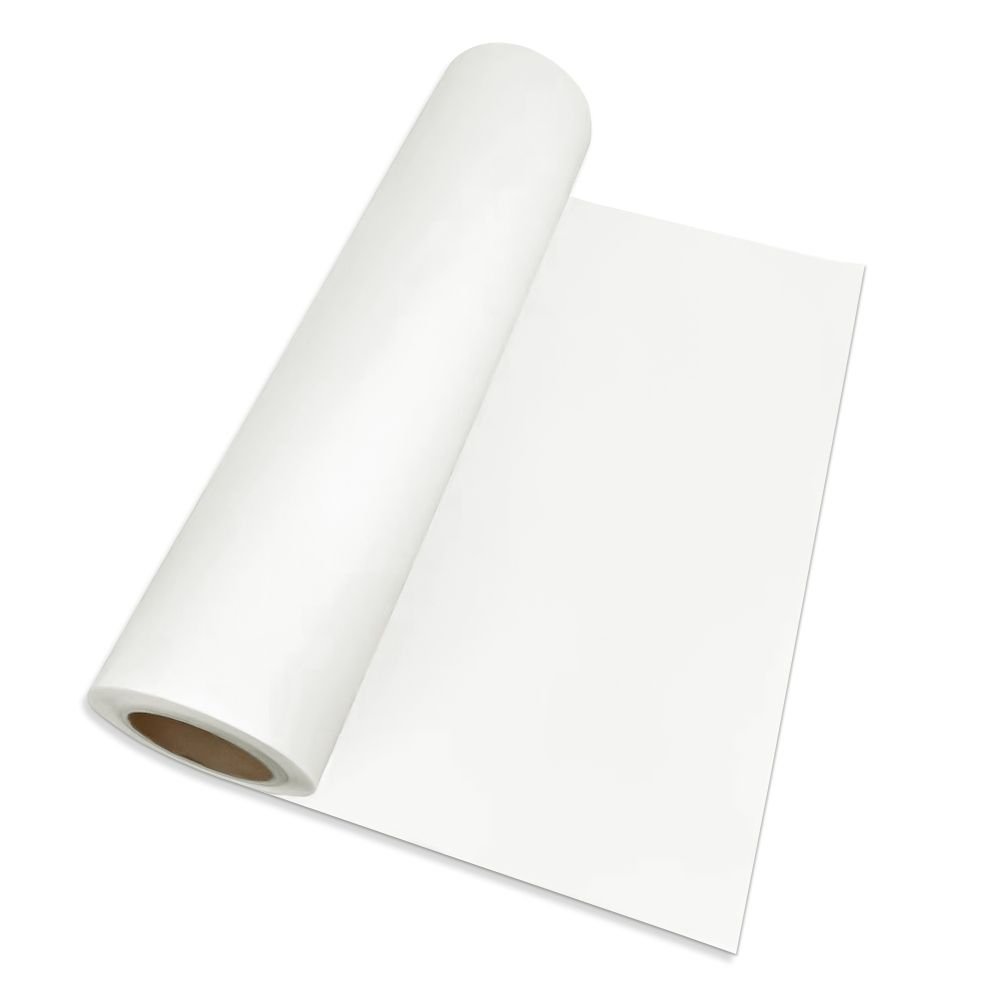
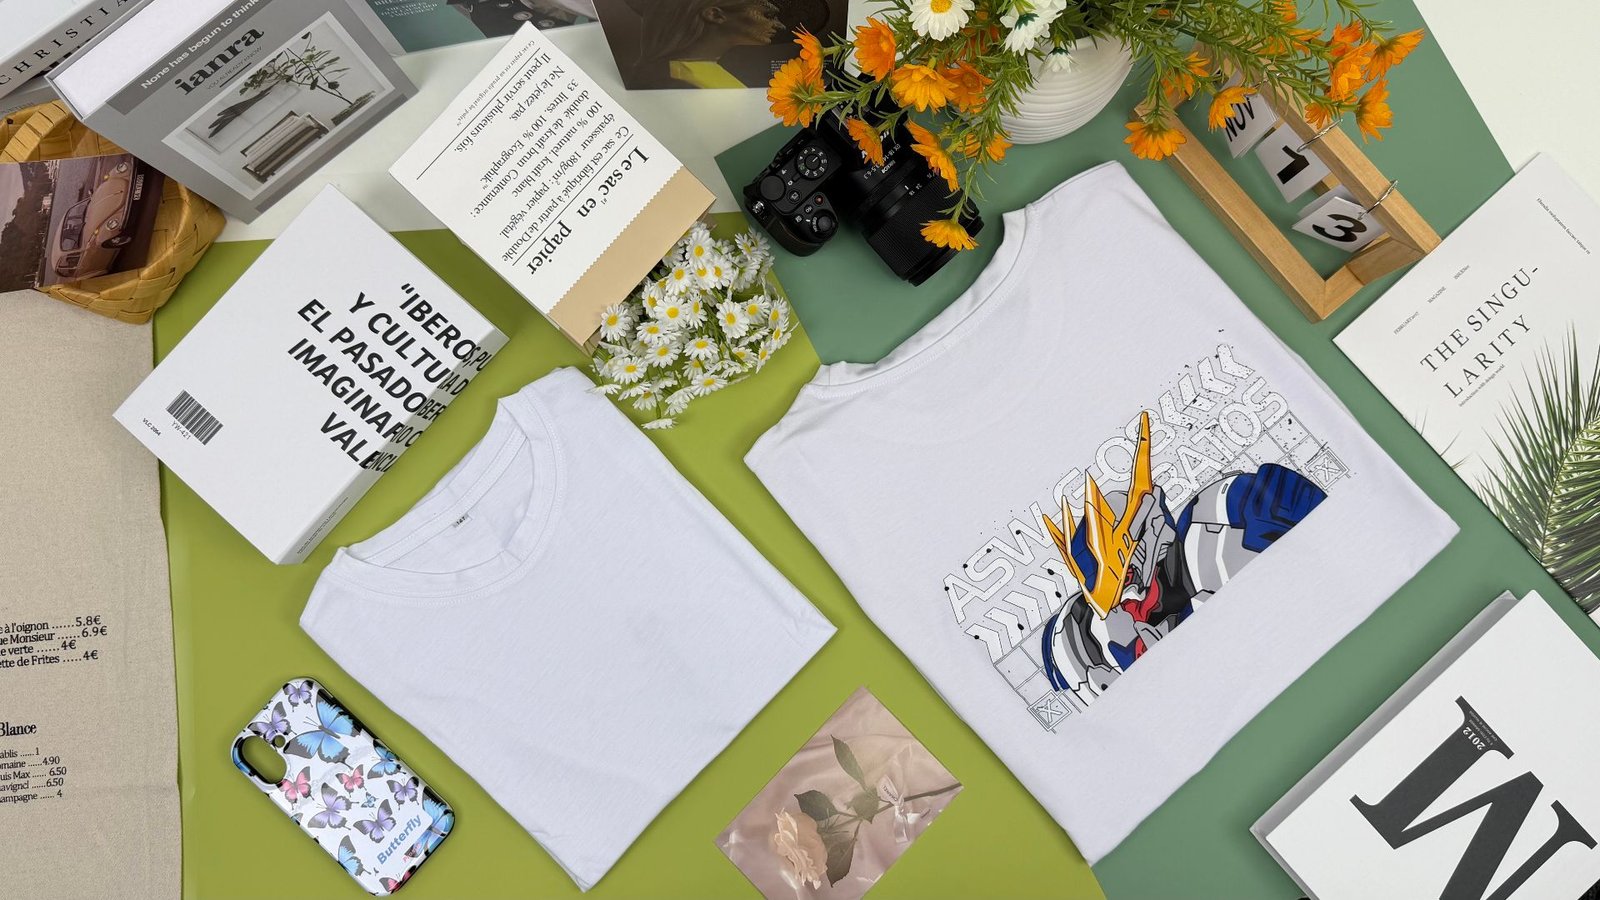
DTF transfer film is a PET film material specifically designed for the DTF direct-to-film heat transfer process. It utilizes a layer of ink-adhesive hot-melt powder on its surface to transfer the printed image onto substrates such as textiles. DTF transfer film typically consists of an anti-static coating, a PET film base, and a peelable coating. The DTF process requires the use of specific inks—DTF pigment inks. These employ solid pigment particles (as opposed to dye molecules) as colorants, dispersed within a special solvent/resin vehicle. This method is ideal for textiles intended for long-term use, including apparel, backpacks, and home furnishings like pillowcases, tablecloths, and curtains.
Performance Characteristics
Excellent Material Compatibility: Compatible with a wide range of fabrics, including cotton, polyester, leather, and knitted materials, without requiring substrate pre-treatment or blank consumables. This solves the limitation of traditional transfer methods that are often restricted to specific fabric types.
High-Quality Transfer Results: Strong white ink opacity ensures vibrant color reproduction and sharp pattern edges without feathering. The transferred image exhibits excellent adhesion, maintaining colorfastness and resisting cracking even after multiple washes, with superior abrasion resistance.
Efficient and User-Friendly Operation: Supports pre-printing and laminating for on-demand use. Features smooth powder application and shaking with minimal sticking. Offers flexible hot or cold peel options with clean, residue-free release, significantly improving production efficiency and lowering the operational skill threshold.
How It Works
- Printing (print color ink first, then white ink)
Use a dedicated DTF printer and professional drawing software to directly print the mirrored pattern onto a special PET plastic film. The printing uses a special “hot-melt powder ink”—DTF pigment ink.
- Sprinkling Powder
After printing, evenly sprinkle a layer of special hot-melt adhesive powder over the wet ink pattern and shake to distribute it uniformly. This layer of adhesive powder will firmly adhere to the patterned areas.
- Curing
Dry or bake (temperature: 130 °C, 5–8 minutes) to fully dry the ink and melt the adhesive powder so it fixes onto the surface of the pattern, forming a sticky adhesive film.
- Transfer
Place the treated film with the printed side facing down onto the substrate (e.g., clothing), and apply appropriate temperature (about 150–160 °C, time: 10 s) and pressure with a heat press machine. At this point, the adhesive film melts again, causing the entire pattern layer to peel off from the PET film and permanently bond to the substrate surface.
- Peeling Off
After cooling, remove the surface PET film, and the pattern transfer is complete.
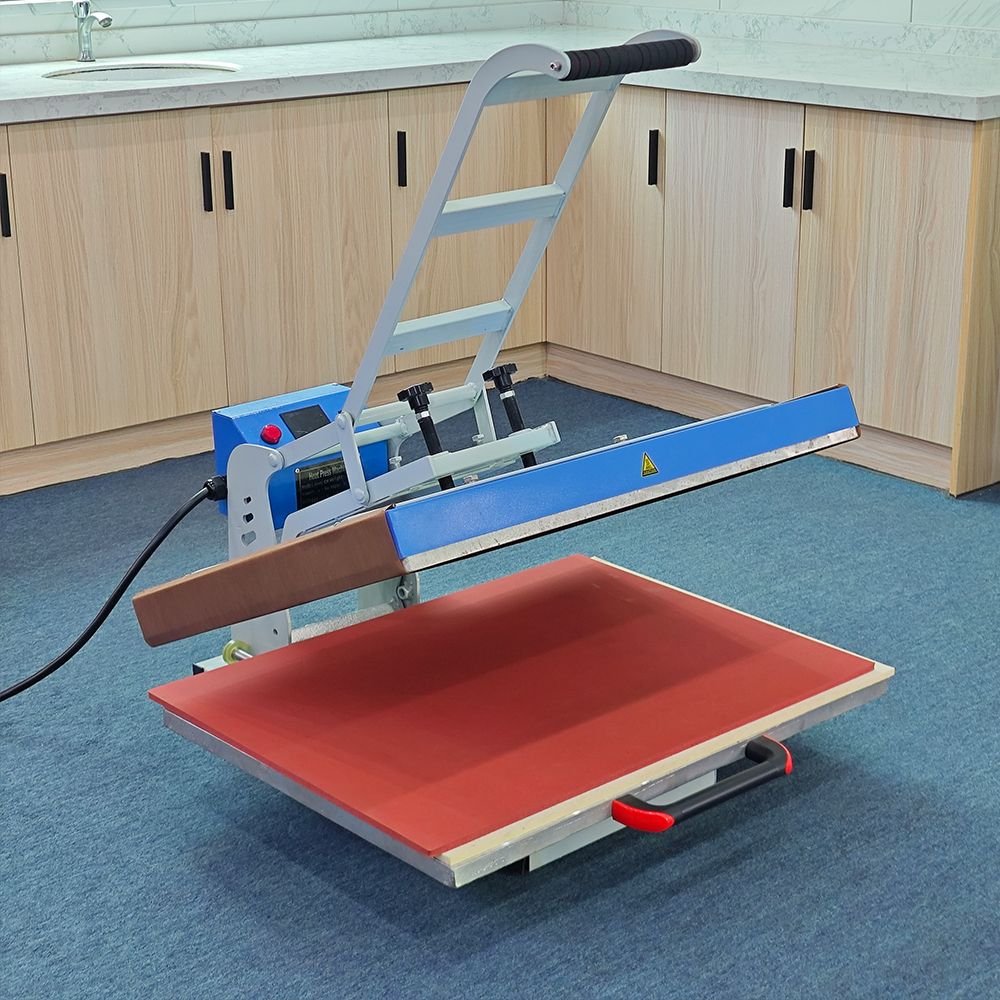
Note: Because the ink required for DTF transfer film differs from that required for 3D sublimation film in composition and molecular size,sublimation printer is not suitable for heat transfer film; a dedicated DTF printer must be used. However, the modification process is not complicated. If you need to print patterns on DTF transfer film using a sublimation printer, you must replace the printer’s nozzle in advance.
Conclusion
Stop struggling with which transfer material to choose! Just remember this golden rule: Use sublimation film for 3D objects, dye-sublimation paper for flat surfaces, and leave those tricky fabrics to DTF! Based on your creative goals, carefully select the most suitable solution by correctly matching your consumables, transfer medium, and equipment to achieve optimal transfer results.
Should you face material selection challenges for any application scenario, our expert technical team is here to assist. Advansub is committed to providing you with customized, professional solutions.